Interactive Animation
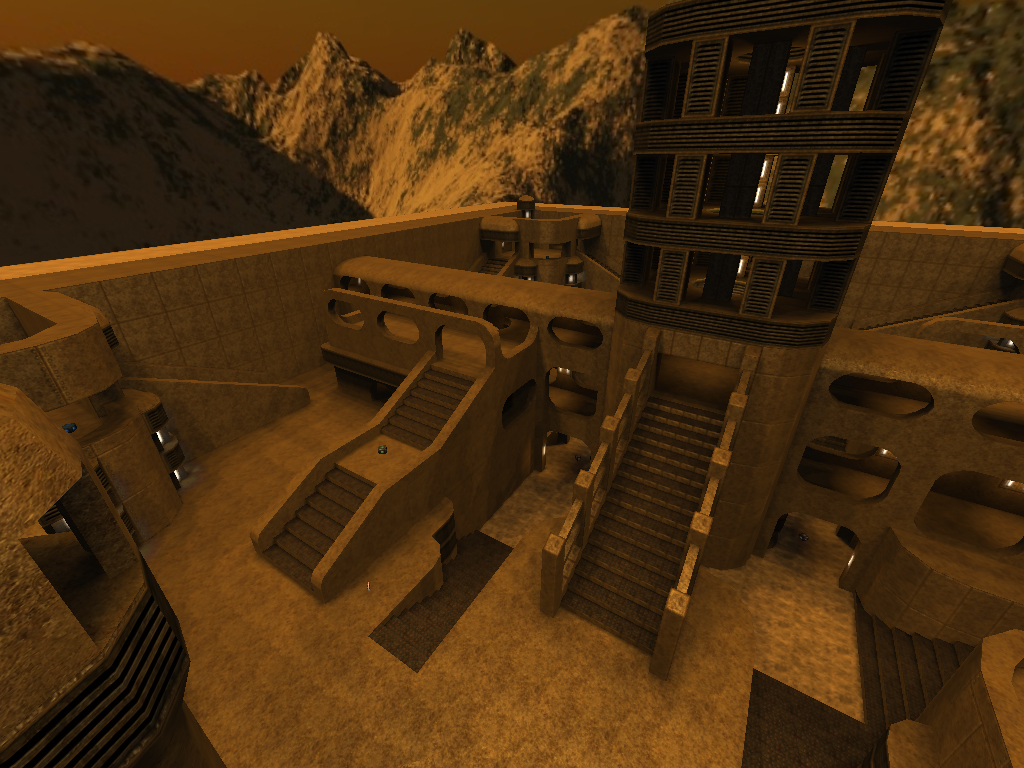
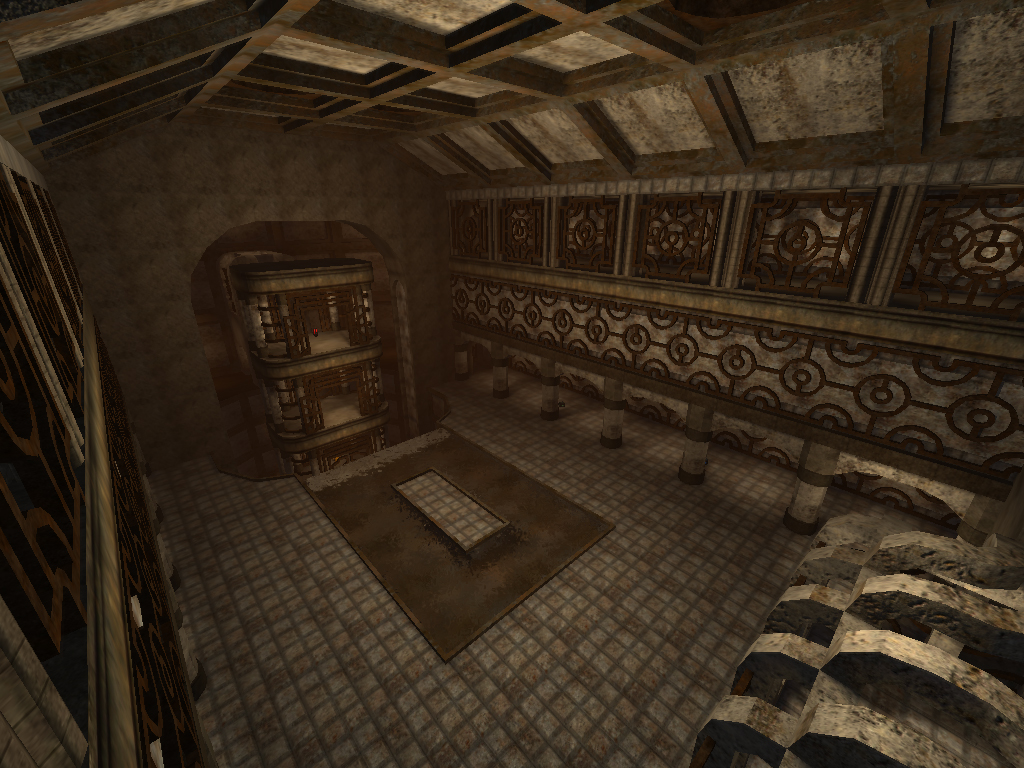
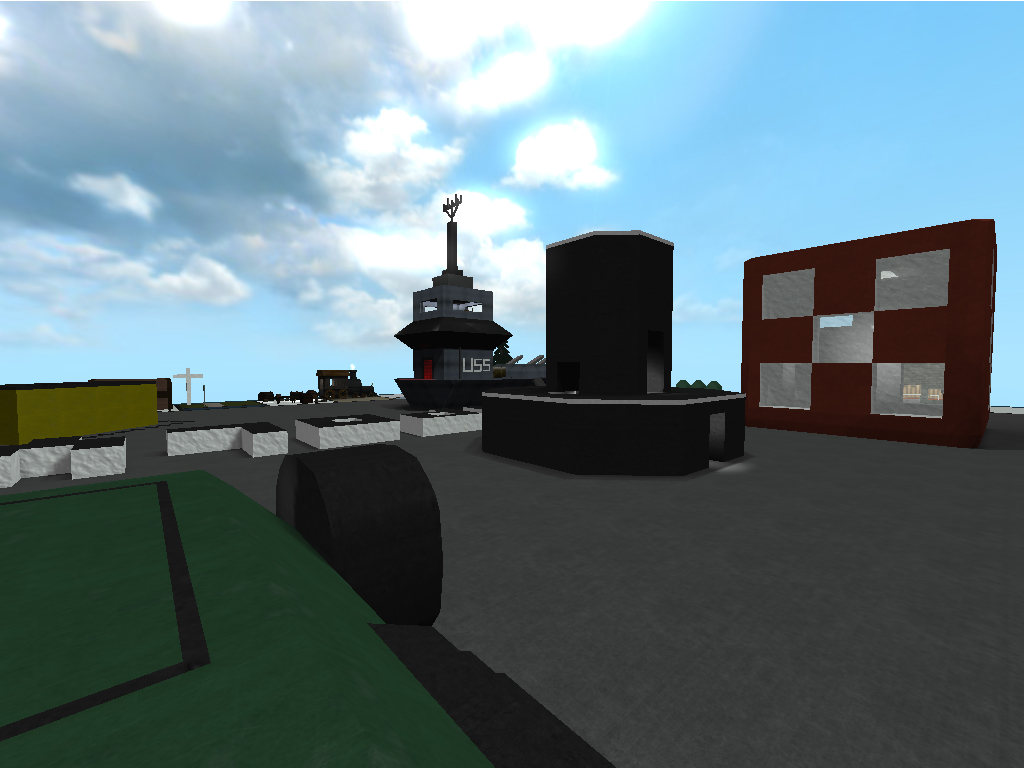
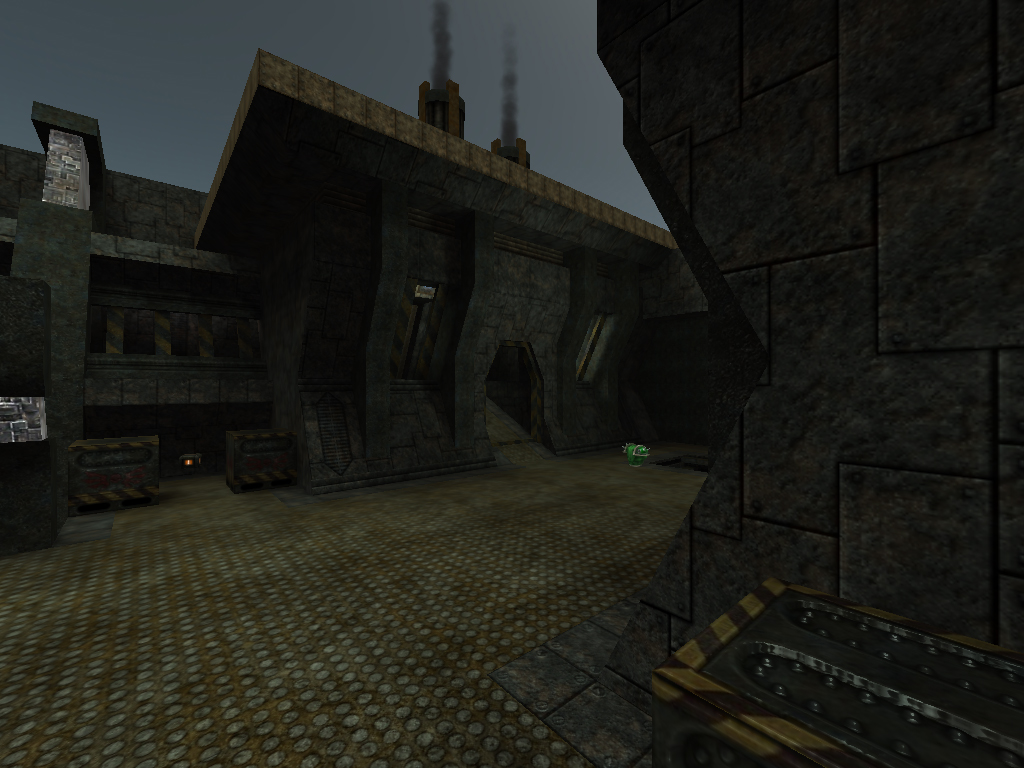
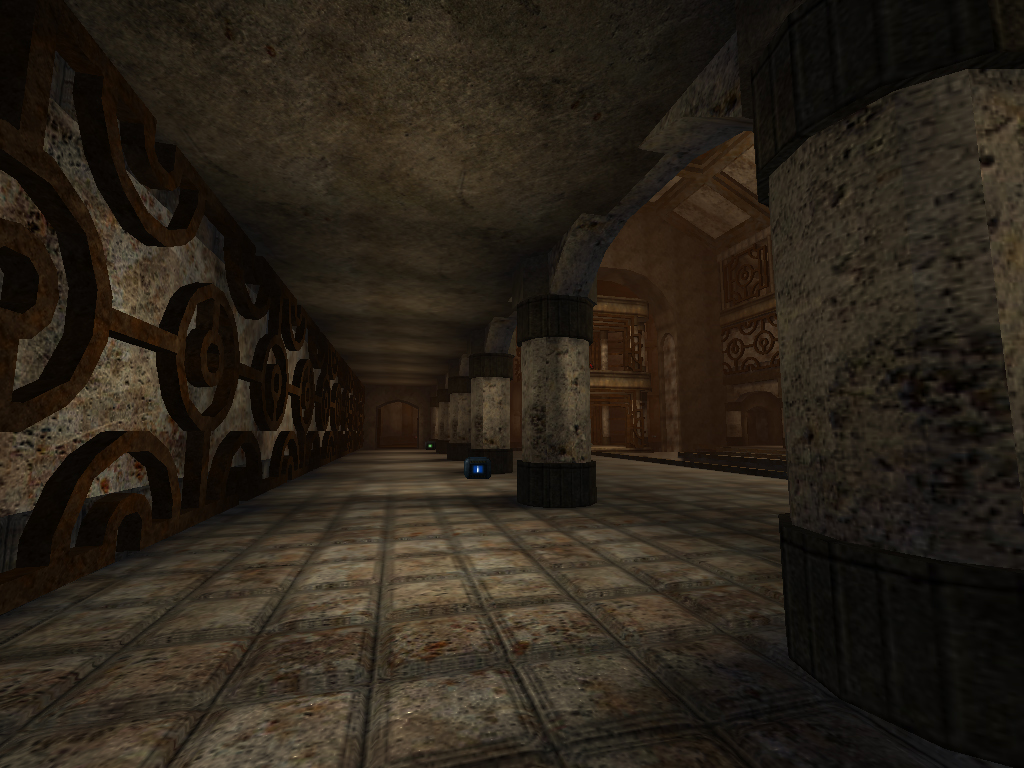
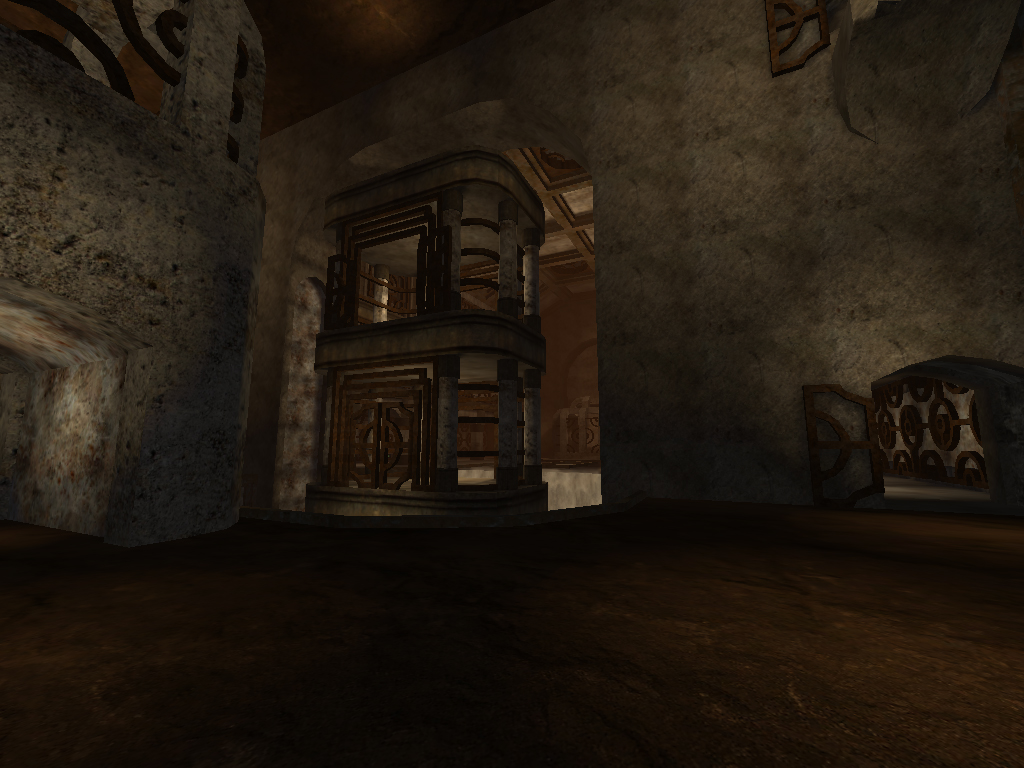
Project Screen Shots: Sauerbraten (Justice Edition)
Student work...
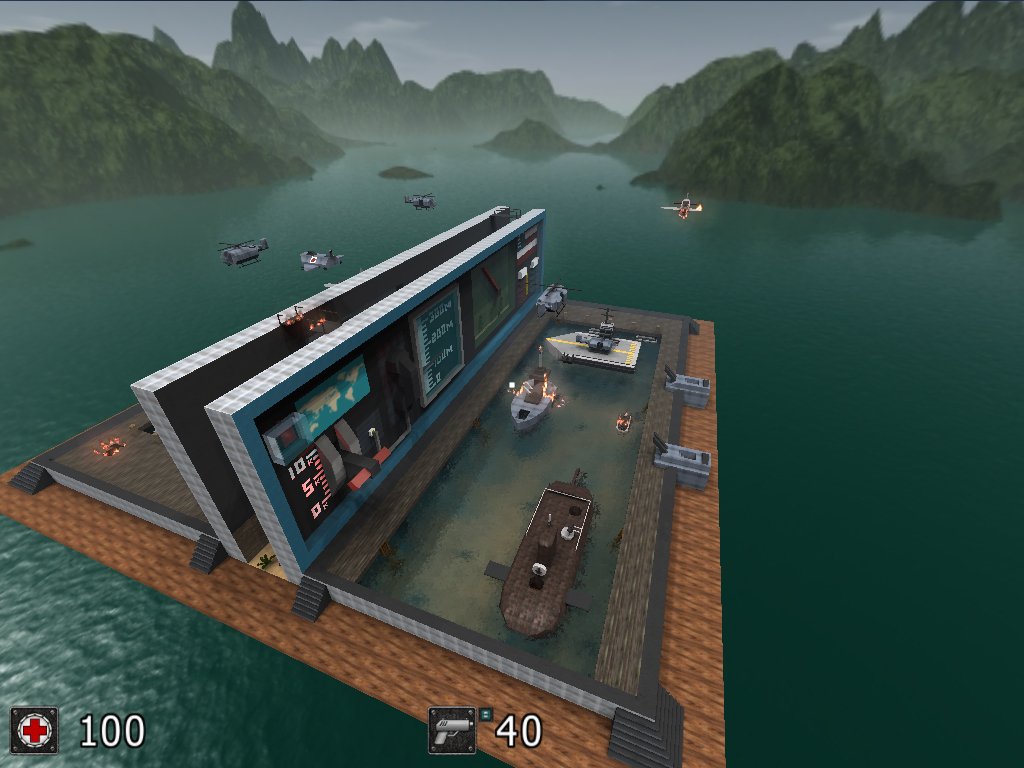
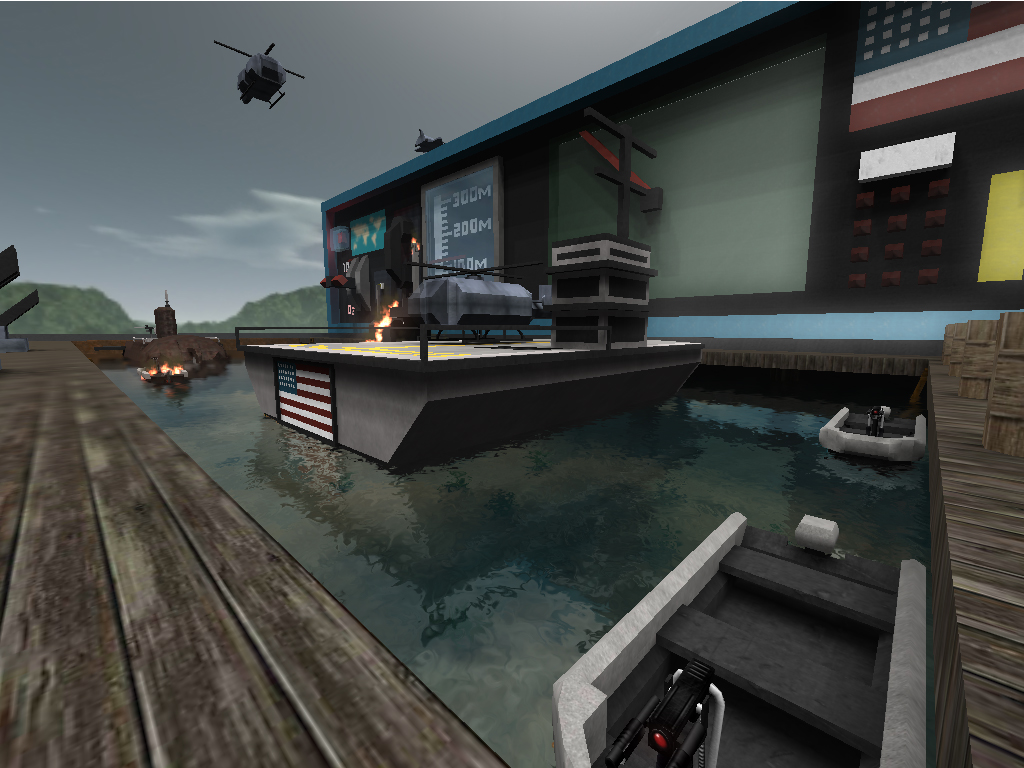
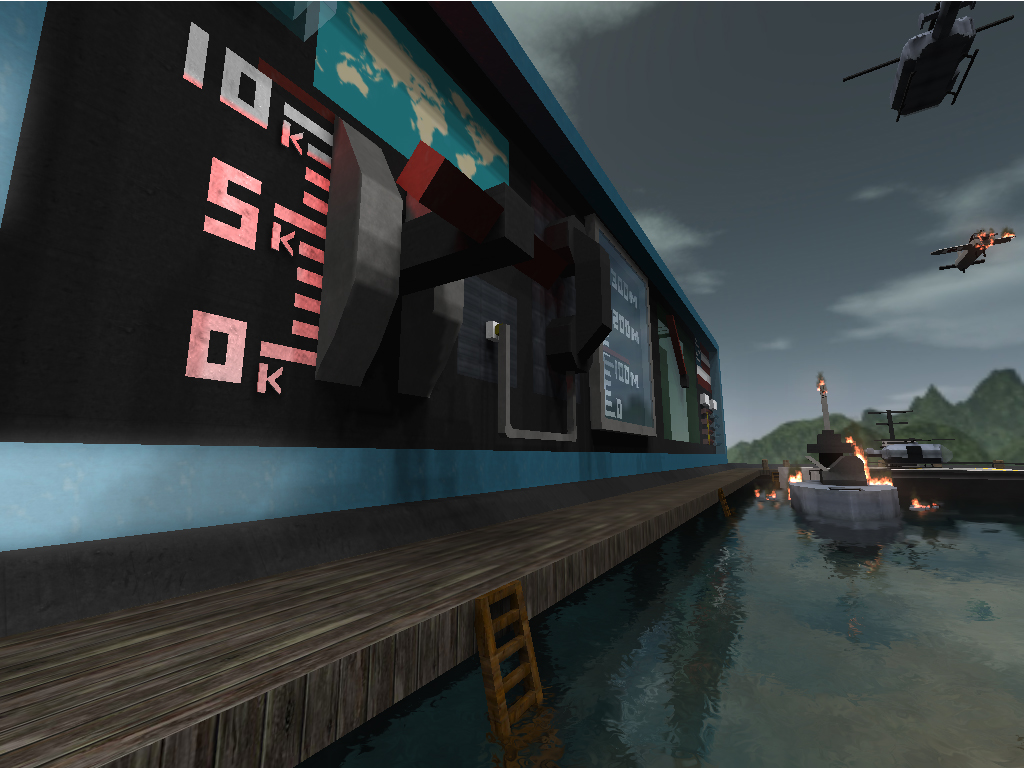
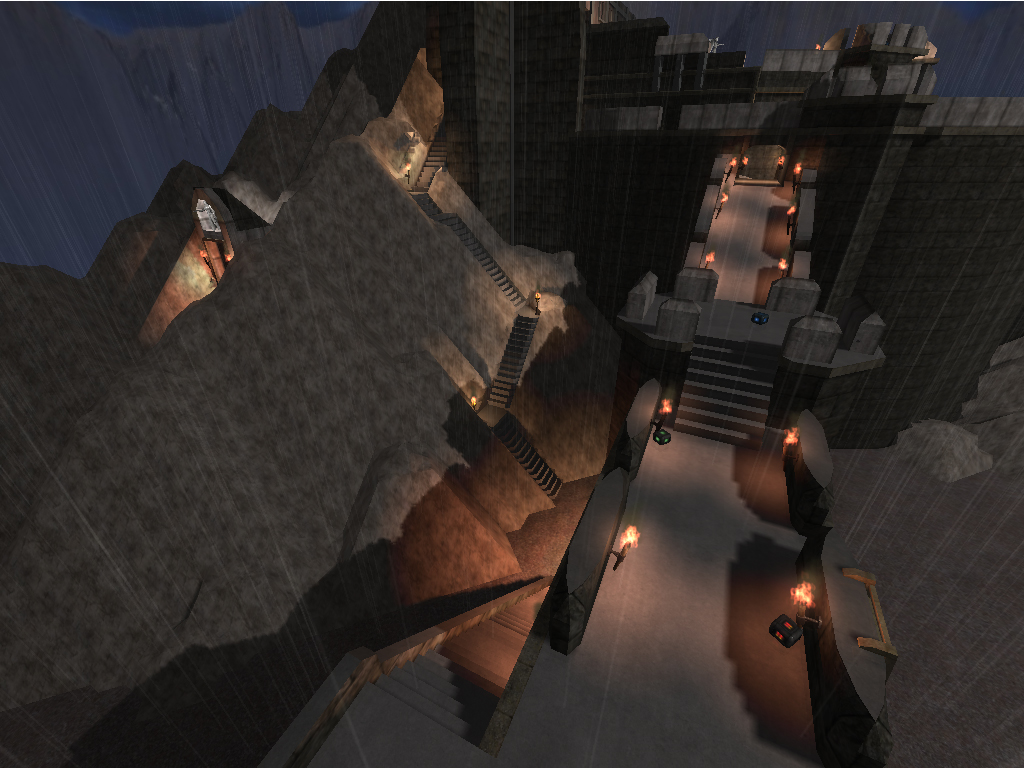
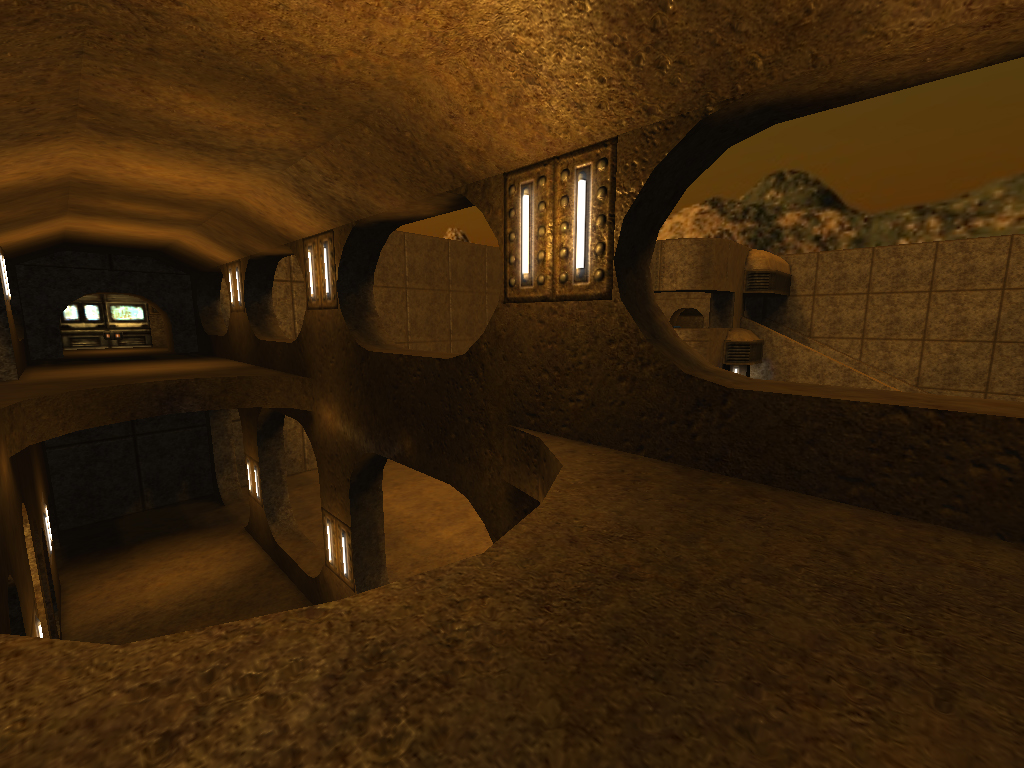
Map name: Battleship
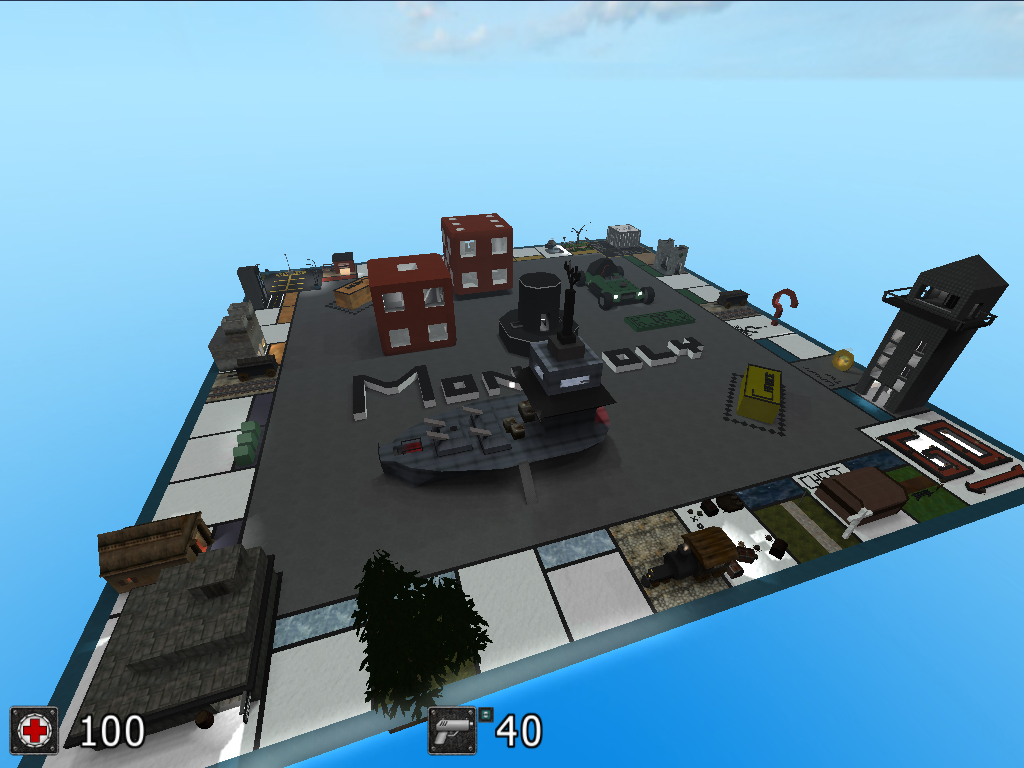
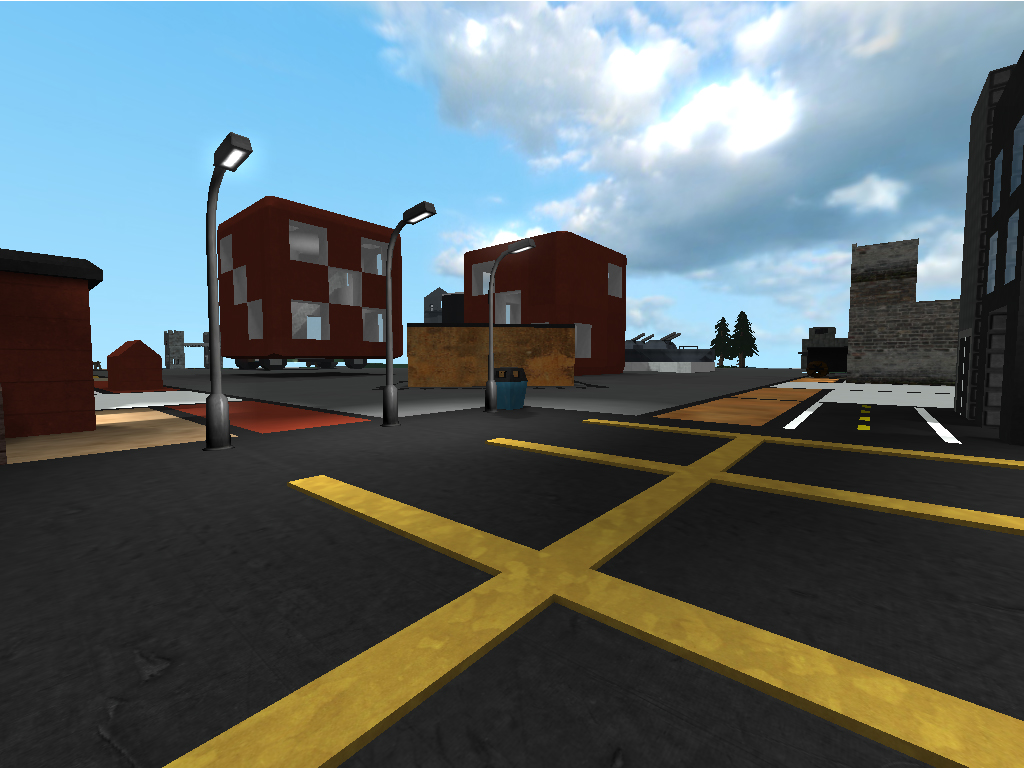
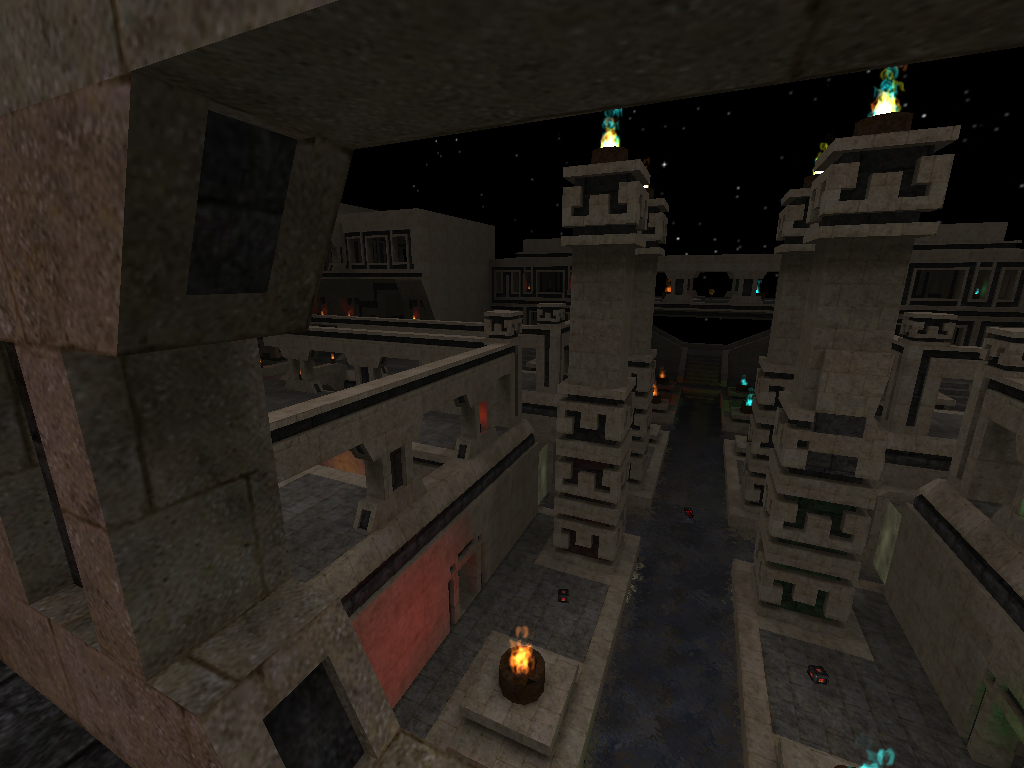
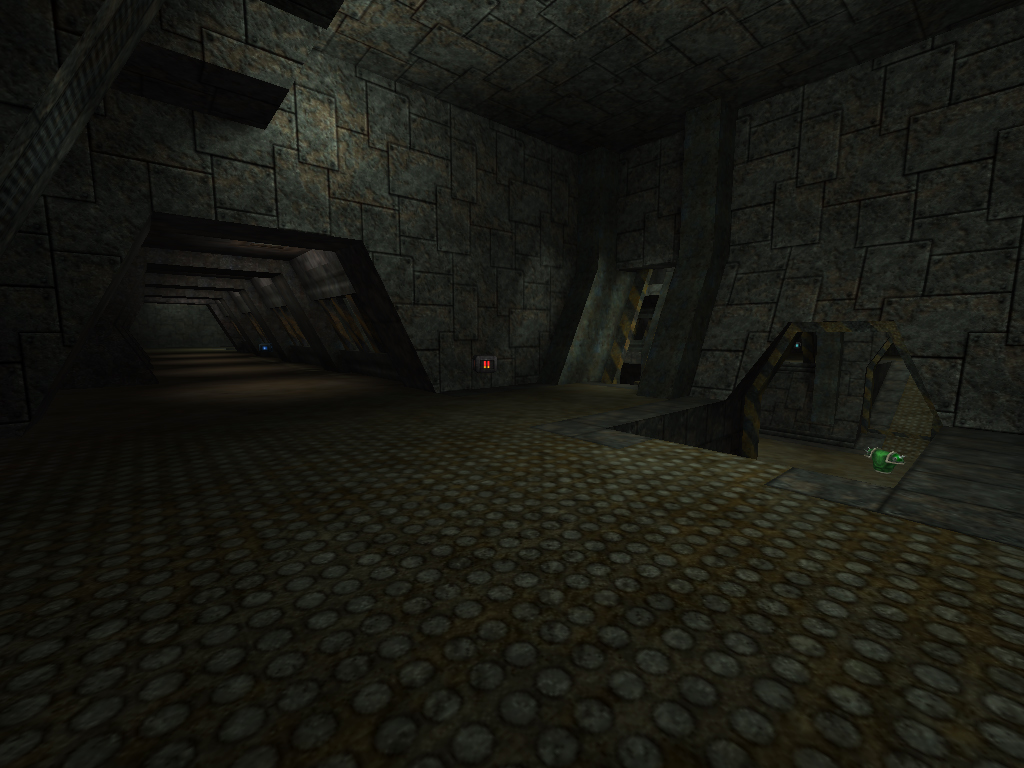
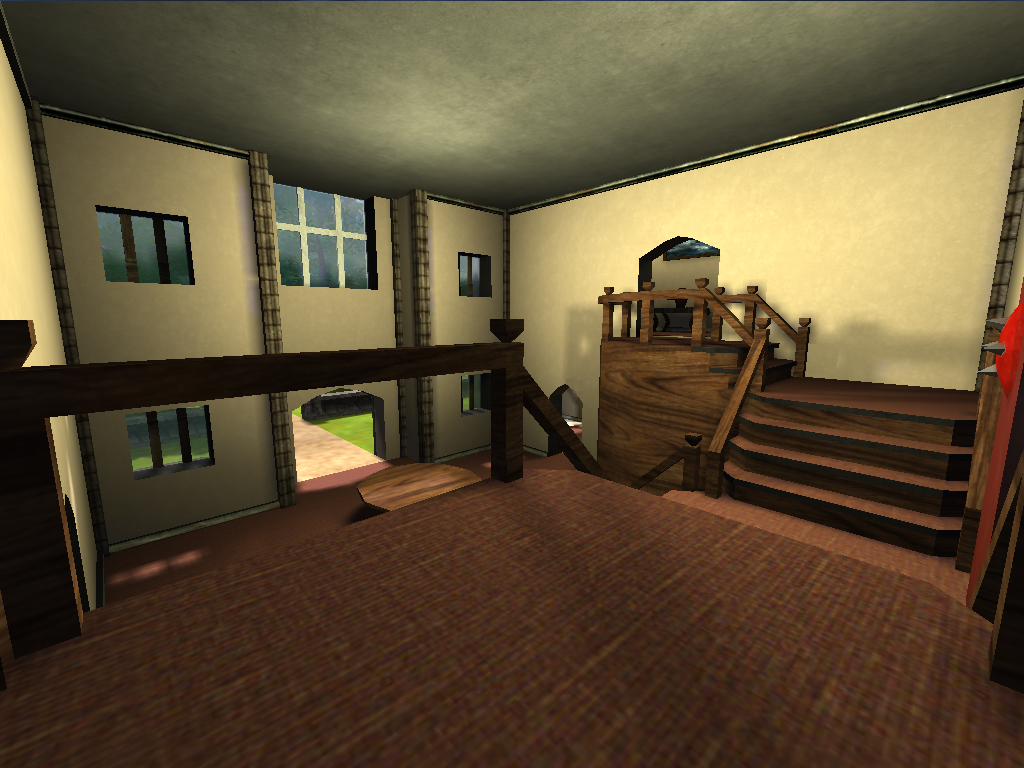
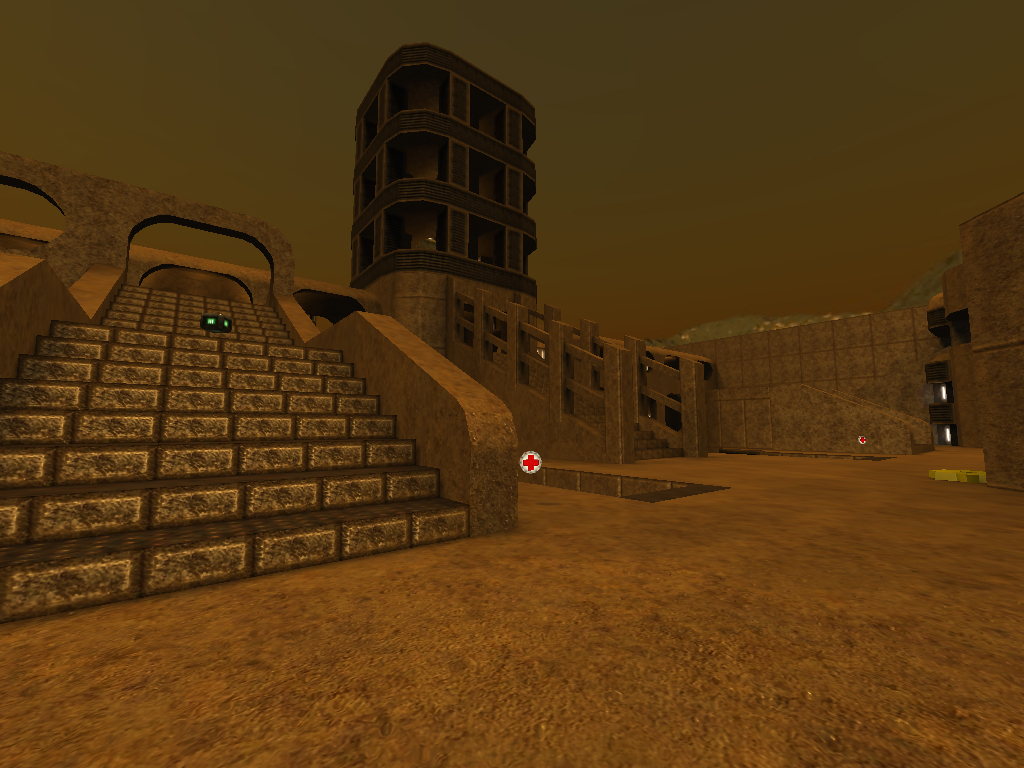
Map name: Mono
|
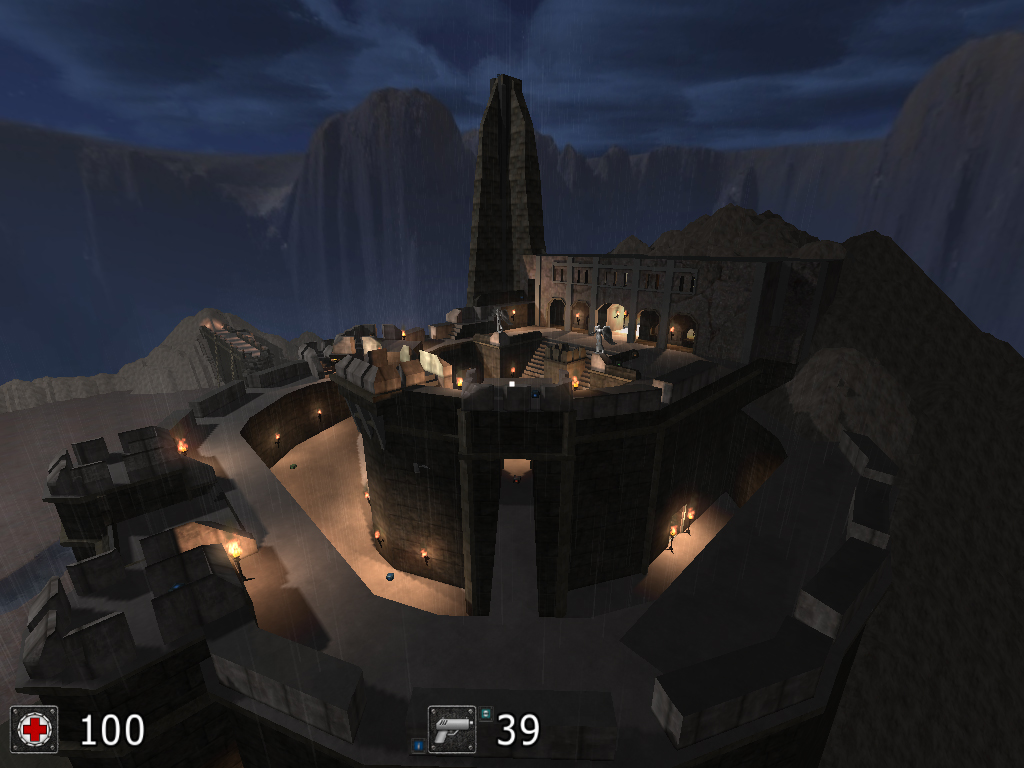
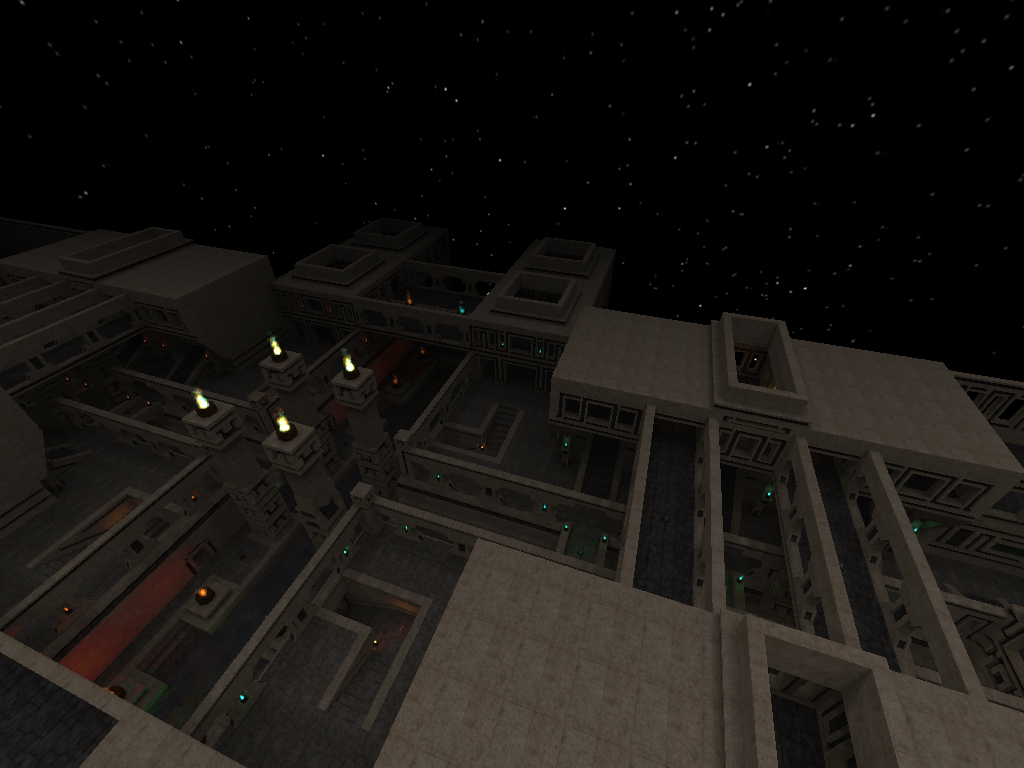
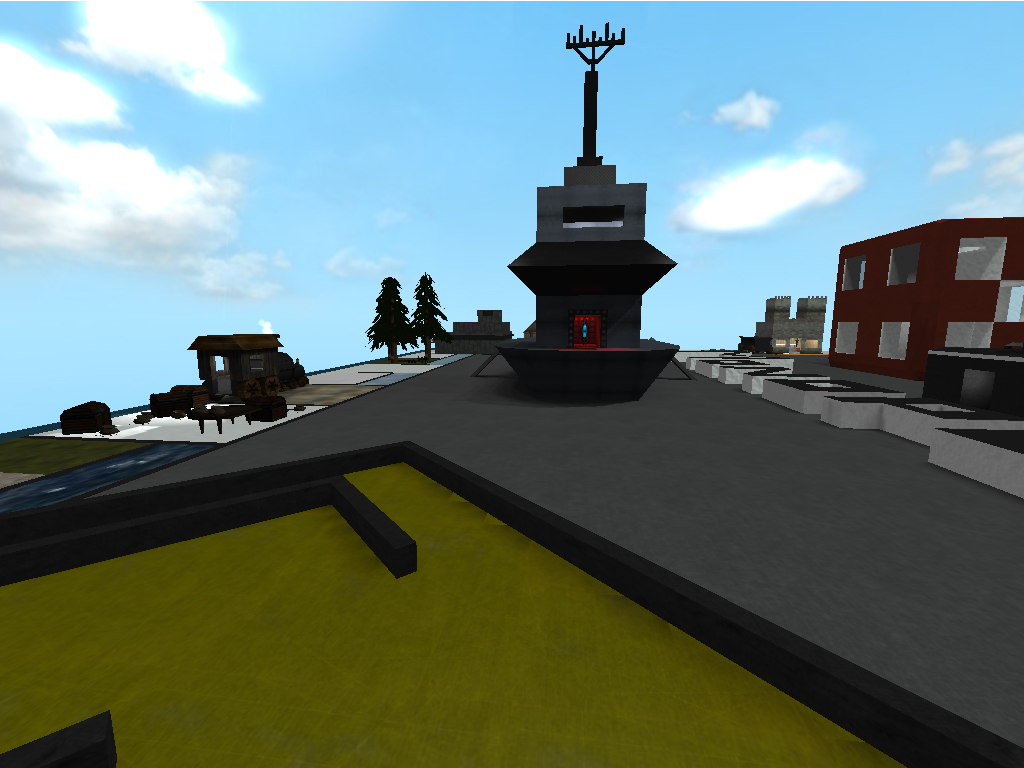
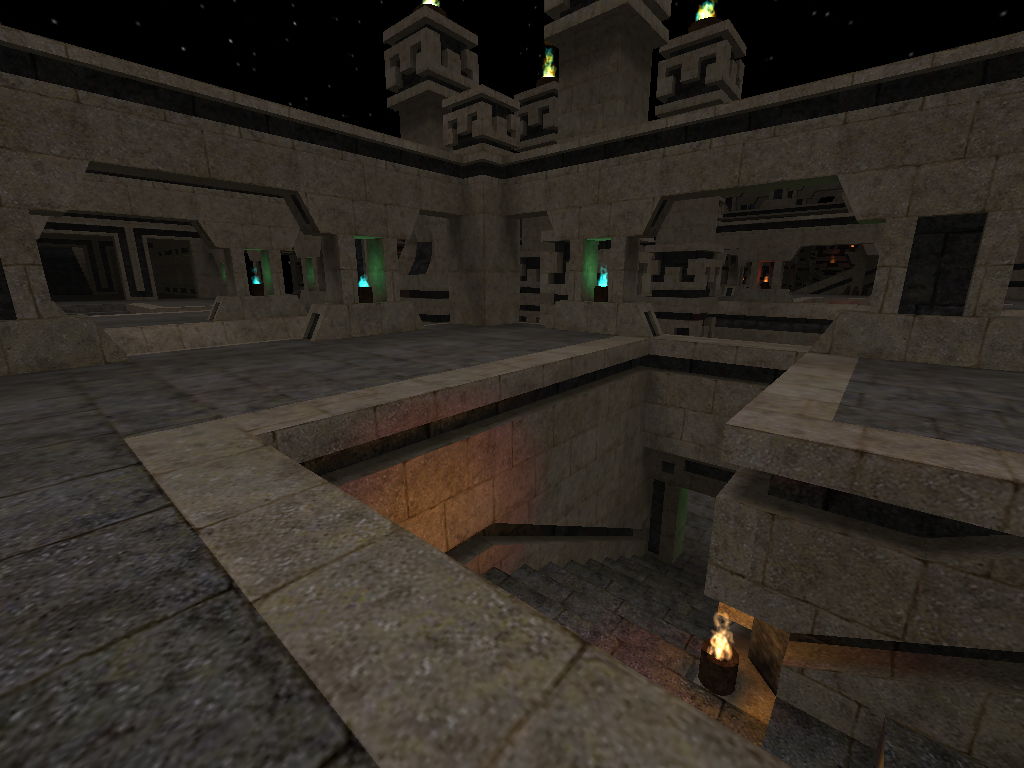
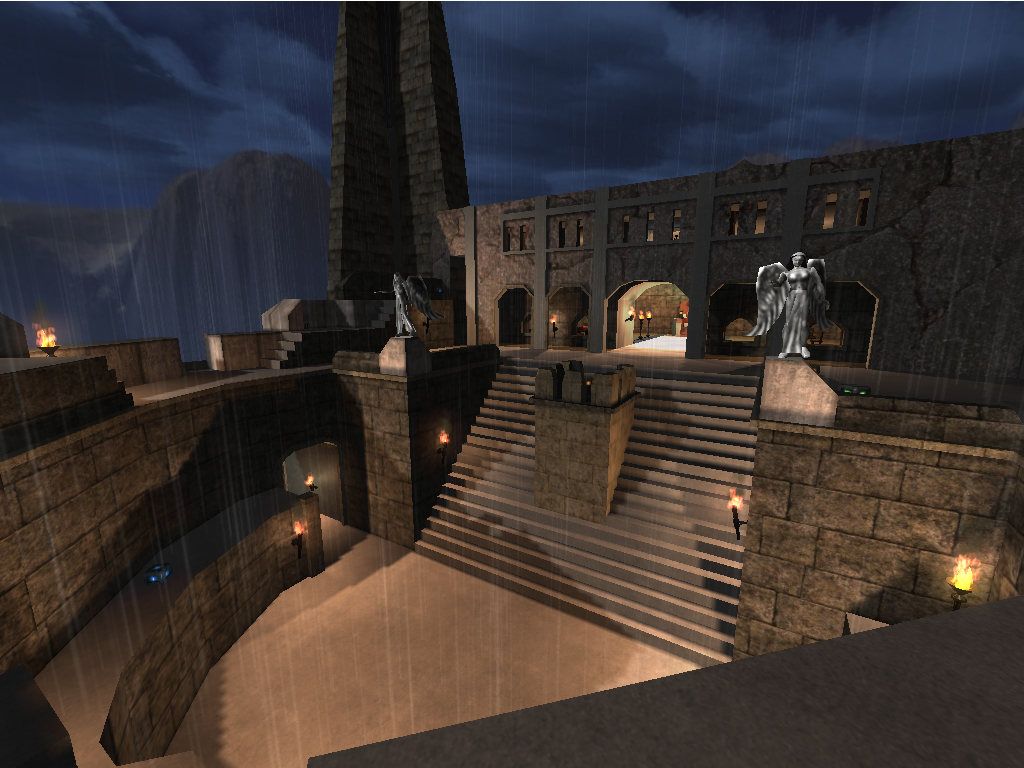
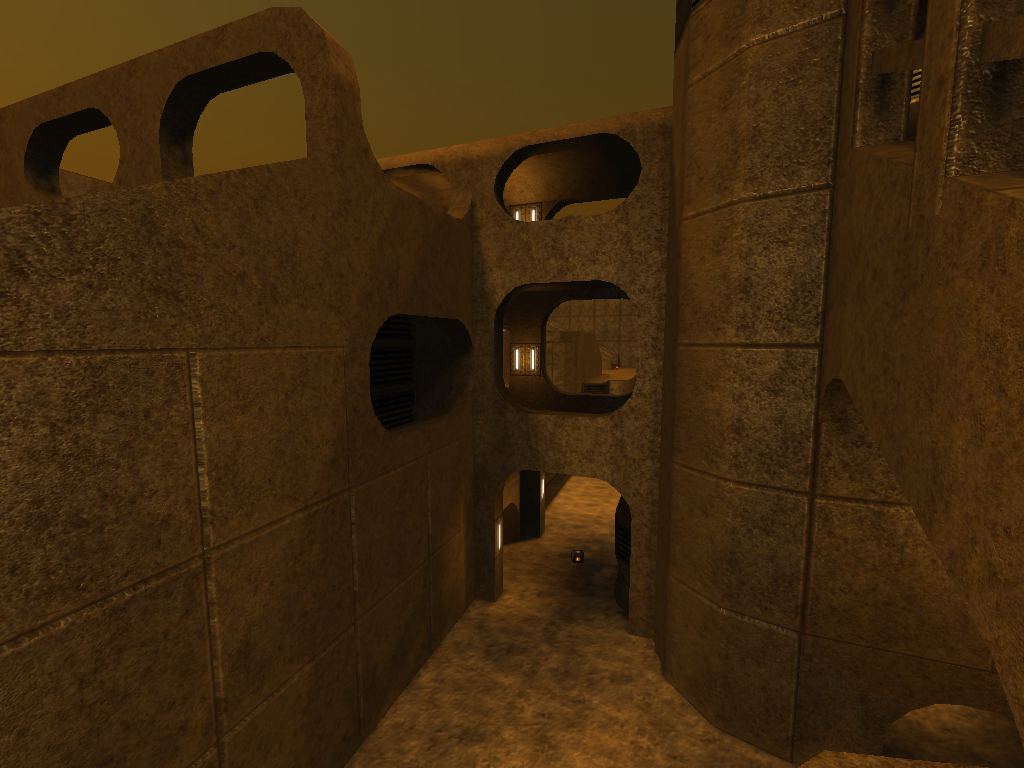
Map name: Helmsdeep
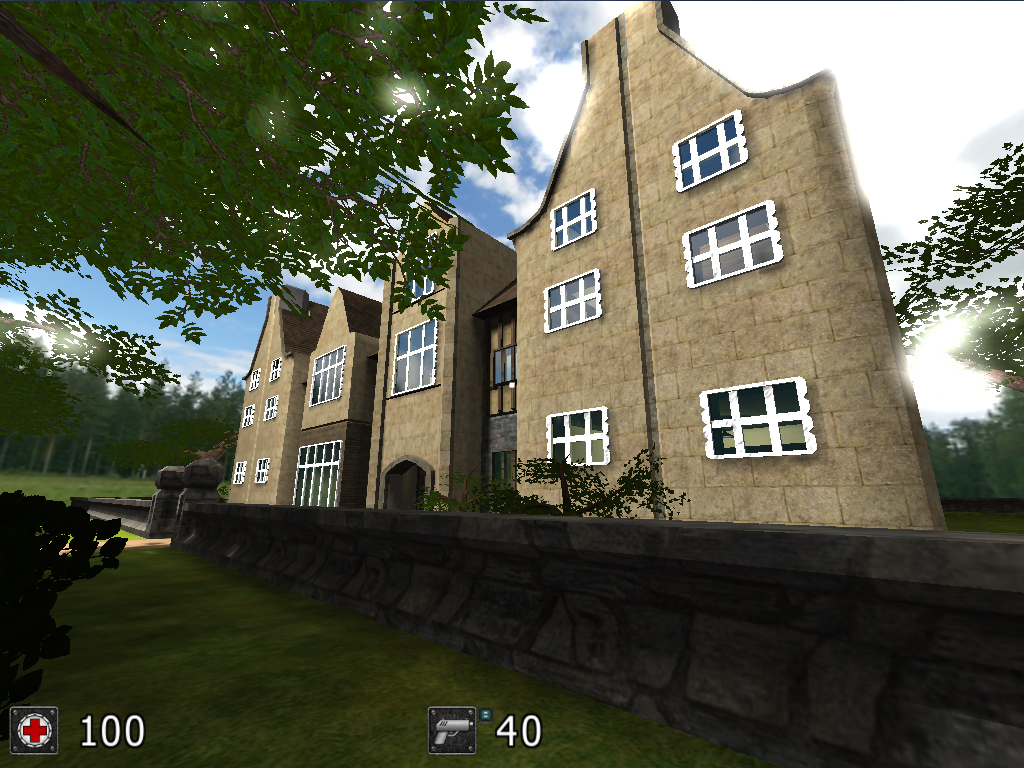
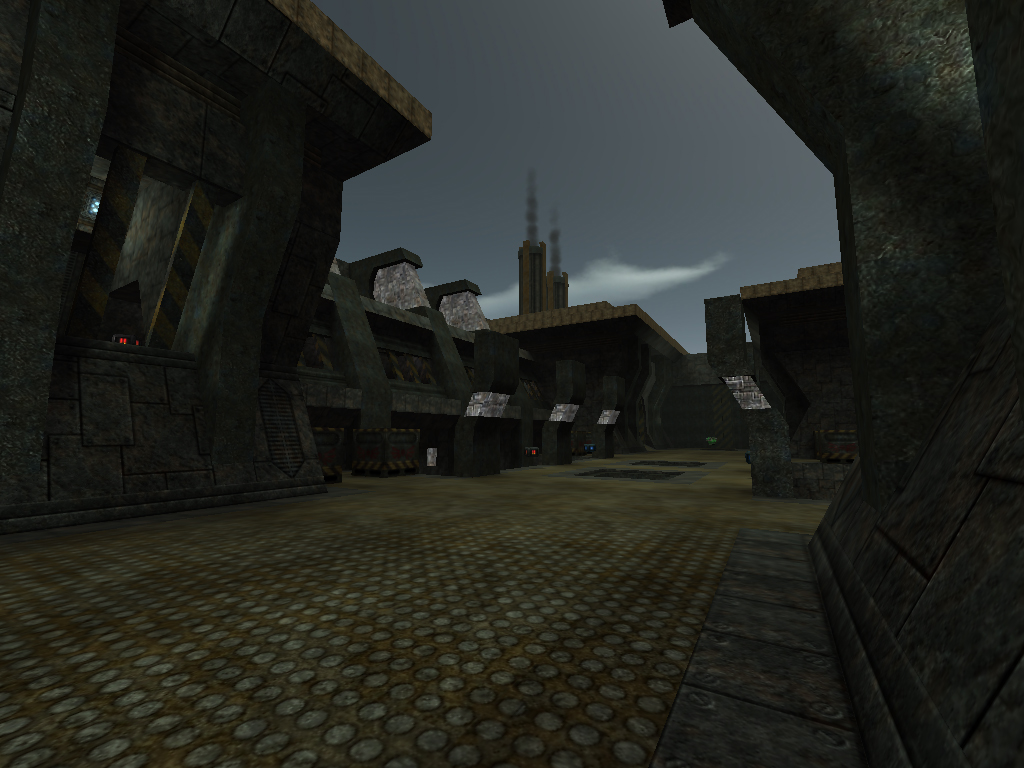
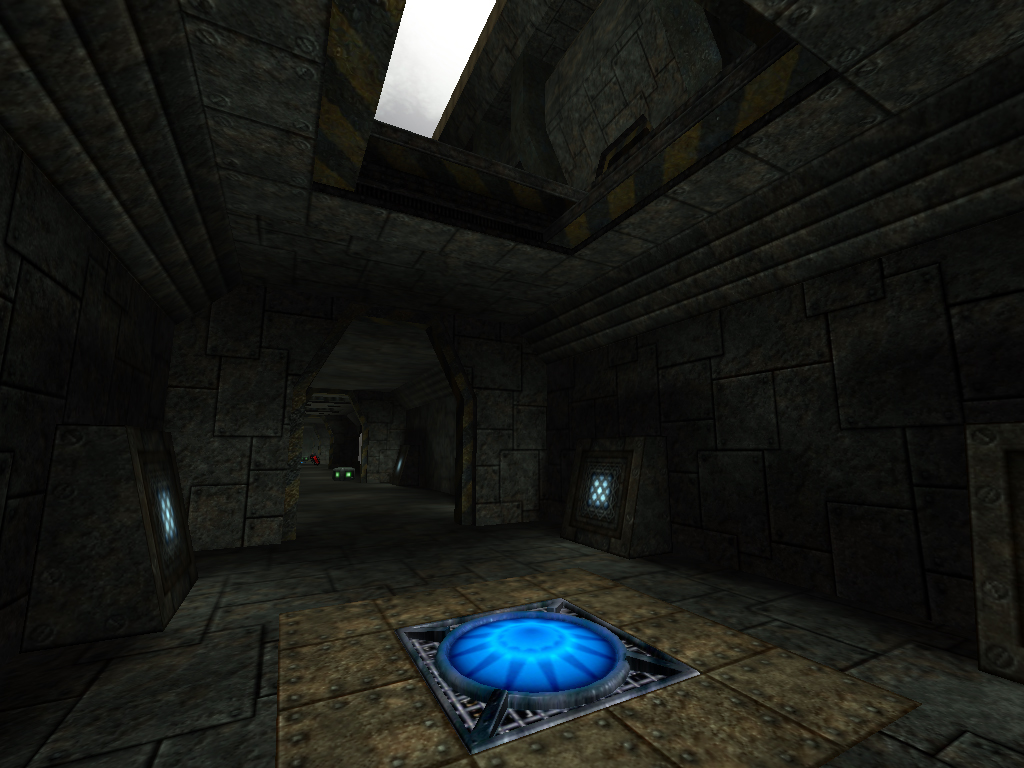
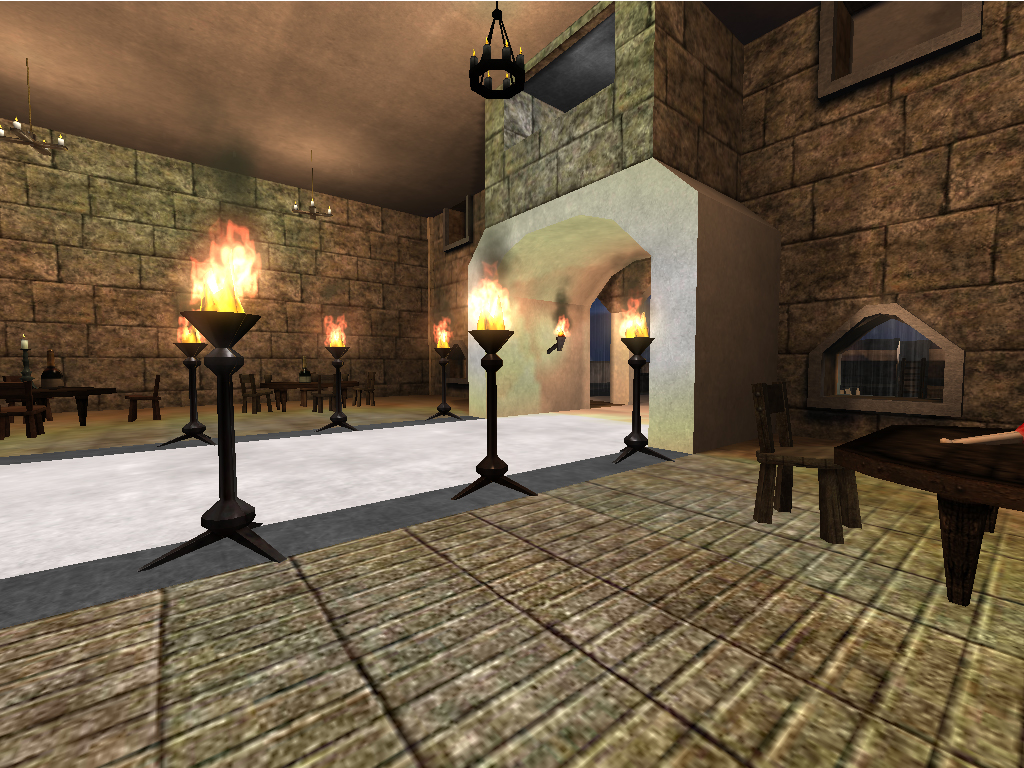
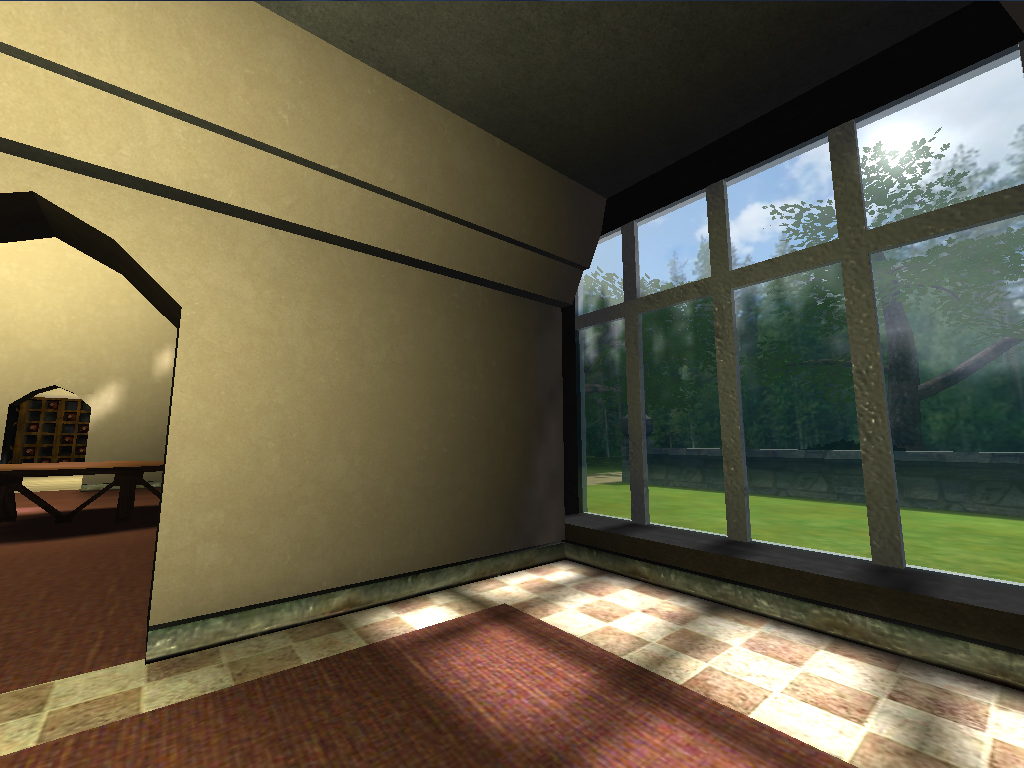
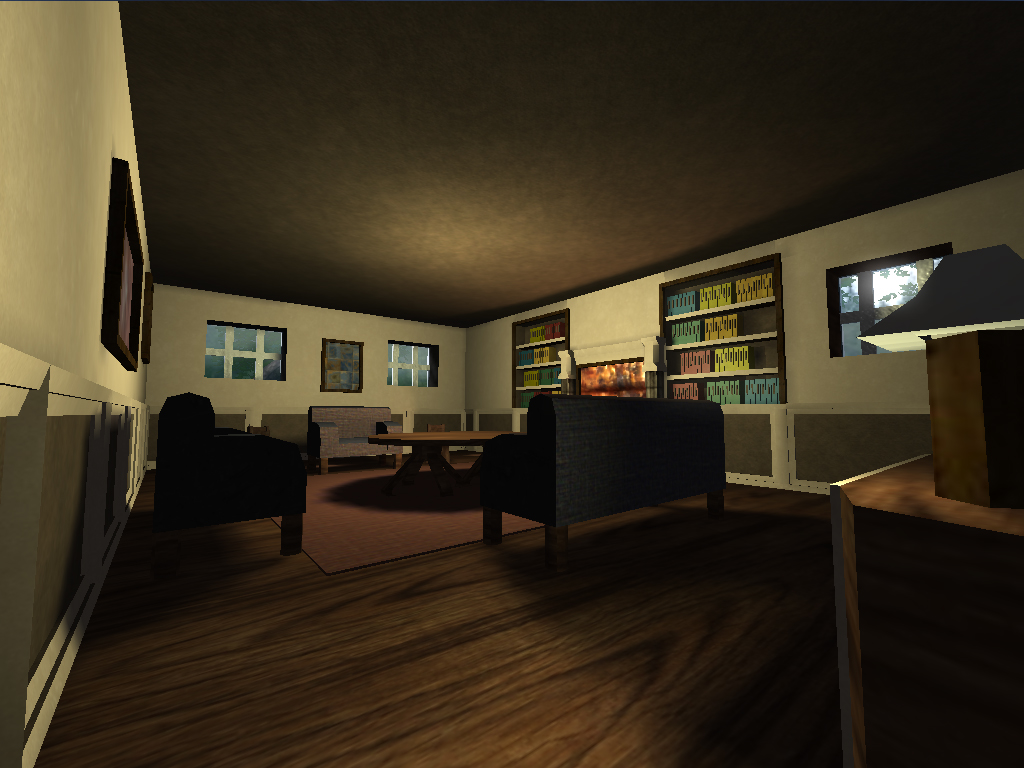
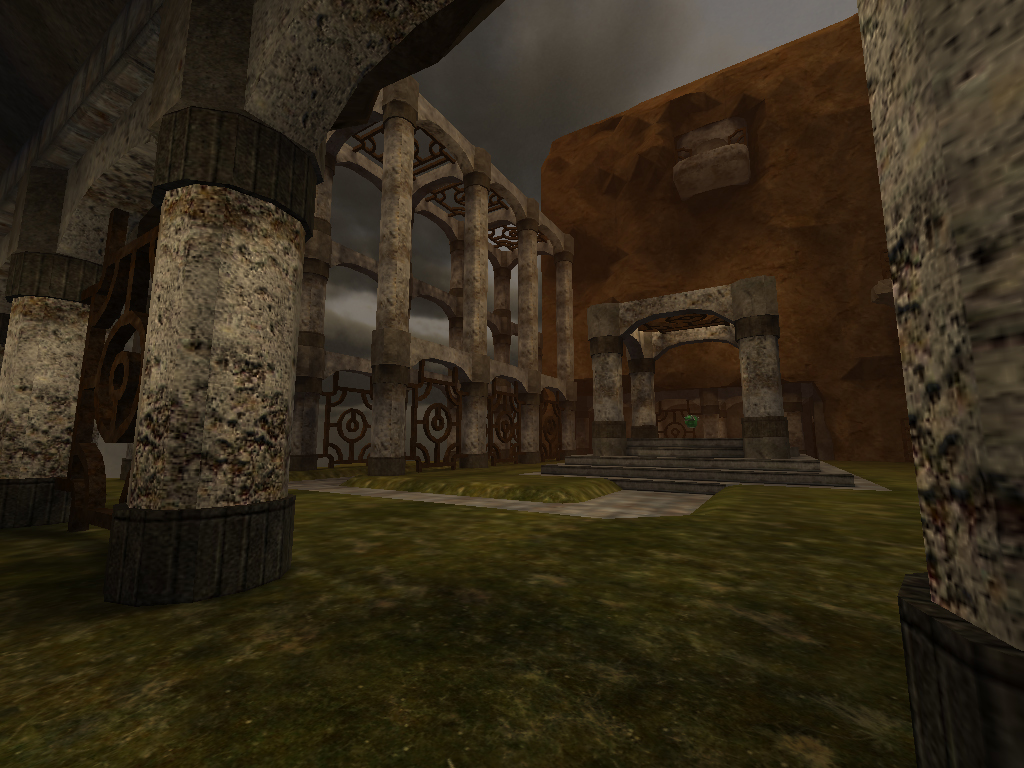
Map name: Wardrobe
|


Links:
OK!! Here's the stuff you should know and the order in which you should know it!!!!
1. Create a block, commonly refered to as "geometry".
2. Change the size of your "cube" / "brush"/ "square".
3. Use the scroll wheel to create rows of geometry.
4. Select large areas/planes at once useing left and right clicking.
5. Select volumes.
6. Add materials such as: Water, glass, air etc...Change Skyboxes.
7. Add Map Models: "F4" and rotate them "Hold "R" key and scroll with mouse wheel
8. Add a "Skylight: "skylkight 0_0_0 and Single Lights"
9. Add Particles: "newent_particles"
10. Edit Particles: Press "." and edit the "0_0_0_0X00_0" string of code.
11. Change color of Water: "Watercolour 0_0_0"
12. Add Fog: "fog_0"
13. Change Fog Color: "fogcolour_0_0_0"
14. Blend Textures
15. Add Clips and No clips.
16 Add Player Starts and Bases
17. Skybox Color: Skyboxcolour This adds a hue to the actual skybox, great for matching "fogcolour".
Sauerbraten Hints/Shortcuts:
- Hold H and Scroll=Height Map (Does not work in Coop-mode)
- Mouse Left Button: Select Faces
- Mouse "Middle/Scroll Wheel" Button: Select Corners to bend a cube.
- Mouse Right Button: Extend selection; Reorient section direction (requires
initial selection) - Mouse Wheel: Create or delete single and multiple rows/columns of cubes
- Spacebar: Deselect
- F+Mouse Wheel: Push and pull all 4 corners at once (in the case of no corner
selection) - R+Mouse Wheel: Rotate relative to the white box
- Y+Mouse Wheel: Quick texture change
- G+Mouse Wheel: Change grid size (Block Size)
- U: undo one step
- X: Mirror relative to the side of the white box
- F2: Texture menu
- Keypad Enter: Selection entities within selection
L= Fullbright
K= Recalc. light and optimize map
Shift= Selected Block go invisible
Z= Undo (Only available in Single Player)
I= Redo
T= Type
R+Scroll= Rotate selection or map model
V= Adds generic light source
M= Materials toggle on/off
.= ent set variables
Esc= menue
~= Atilda (Command Prompt)
5= Turns off HUD
7= Wire frame with geometry
8= Wire frame
9= First person/third person toggle
"Fog" Part 1: Adding and Editing
Fog can be added to the playing area, the density and color can be edited.
- To add FOG, type "fog_0" add a value from "0" most dense to "10,000" not visible. Try 800 as the variable to start.
- To change FOG color, type "fogcolour_0_0_0" Color values are RGB.
- Try matching your fog (RGB) color and skylight (RGB) color to create a nice unity in overall atmosphere.
"Fog" Part 2: Adding fog to the skybox
Fog can be added to the skybox as well. This is tricky, so you will need to use a lot of trial error.
- To add FOG to your skybox: A. Type "fogdomeheight_0" add a value from "-1" to "1". I suggest .5 or higher, try experimenting 1/10 at a time B. Type "fogdomemax_0" add value form "0" to "1". I suggest starting at 1.
- Your fog color will automatically match the color specifications of your main playing area fog color.
Adding a "Skylight"
Skylight adds a general "outside" lighting to the map in the same way a sun would illuminate the surface of the earth.
- First we need to type the command "skylight 0_0_0" and add values to the "0_0_0" this will give us the RGB color mix.
- We will need to a "Quick Light" (F3 and choose quick light) or "Recalculate" (K) the light maps to see the effect.
- Continue to tweak the RGB variables until you get the lighting overtone you are looking for.
Adding "Specific Lighting"
This lighting is basically "spot" lighting. Like adding a lamp or ceiling light, you would need more than one to light up an entire room.
- First you need to select a block in the general area you want the light.
- Next press "Esc" and choose "Editing", from here select the "Ents" tab and look for "New Ent Light".
- Once you select "New Ent Light" the light entity will appear but will emmit no light. You will need to "Quick Light" to see the effects.
- Once your light is visible you can change the size and color by clicking on the entity's box.
- Now you can scroll to change the size of the emmiting light as well as change the colour by pressing "F3"
- Remember you won't see any changes until you re-calc the lighting.
- Once you get a light that you like, you can copy and paste it by pressing "C" to copy and "V" to paste...very useful!
Rotating in Small Increments
Hold down "1" and scroll with mouse...
Rotate Sky
spinsky_#
Choose a variable between -720/+720
Choose a variable between -720/+720
Texture Blending
Choose either one, they are both the same ...
Scrolling Textures
"Vscroll X_Y"
Choose a variable for hte "X" and "Y" to make texture move...works great over height mapping with a water texture...
Choose a variable for hte "X" and "Y" to make texture move...works great over height mapping with a water texture...
Texture Coloring
Vcolor_r_g_b same as lighting variables
"Vcolor 0_0_0"
Adds a gell color over the original texture color.
Adds a gell color over the original texture color.
Creating a "Splash Screen"
Turning off gun and hud, we don't want to see any of that stuff in the splash screen.
1. First you will need to turn off the gun.
*Press esc., select options and choose the "game" tab.
*Next, look for "handgun" and deselect it.
*Let's also turn off the cross hairs...
*press esc., choose multiplayer and turn your crosshair size to "0".
*Now your gun and crosshair is not visible during edit or game play modes.
2. From here you will need to give a command to turn off the "hud" or heads-up-display.
*give the command : "hudoff 1" this will turn the remaining information off on the screen.
3. Lastly take a screen shot of the visible screen area by pressing "F12".
*This will save a file in the main sauerbraten folder.
*It will have a long string of numbers and be saved as a "png." file.
*Rename the file with the exact same name as your map name.
*Copy and paste the renamed png. file into the base forlder.
*Suaerbraten automatically looks for image files to act as splash screen thumbnails when any map loads up.
