Digital Illustration:
Photoshop Illustration-
This process is very similar to the "Doodle Design" where we will use a variation of the "Flatting Process" .
|
STEP 1
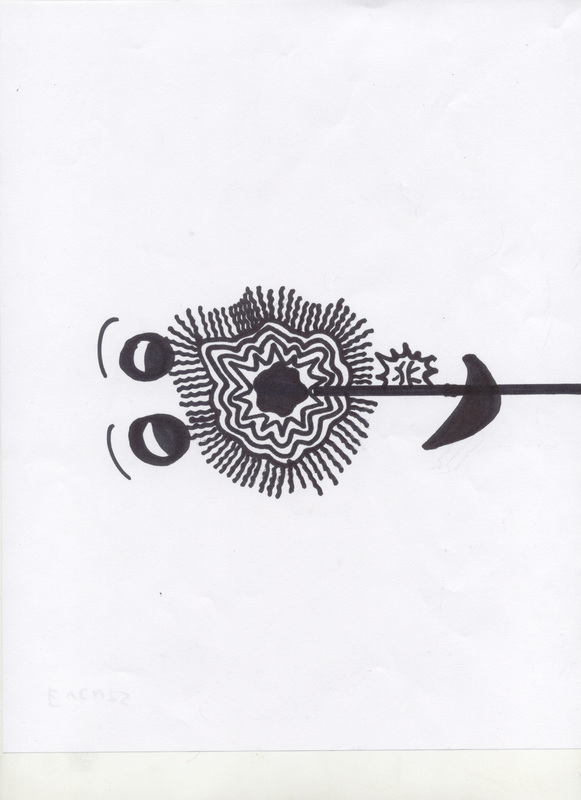
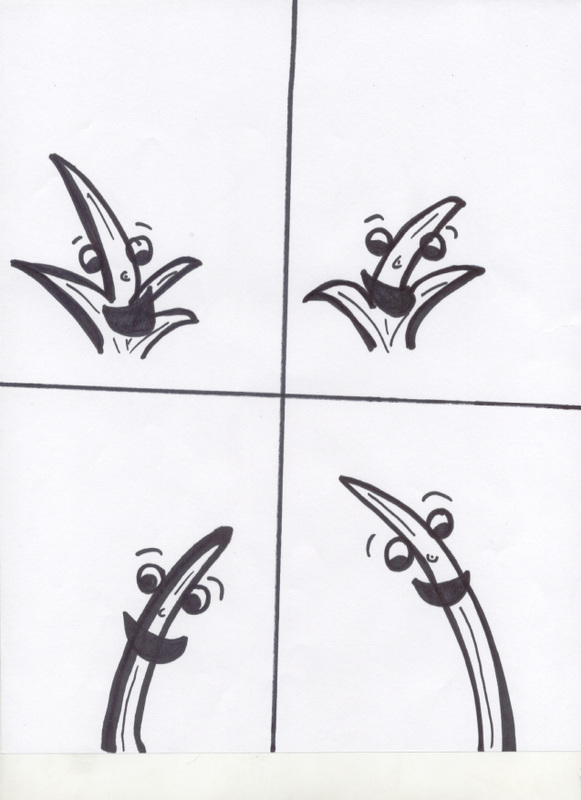
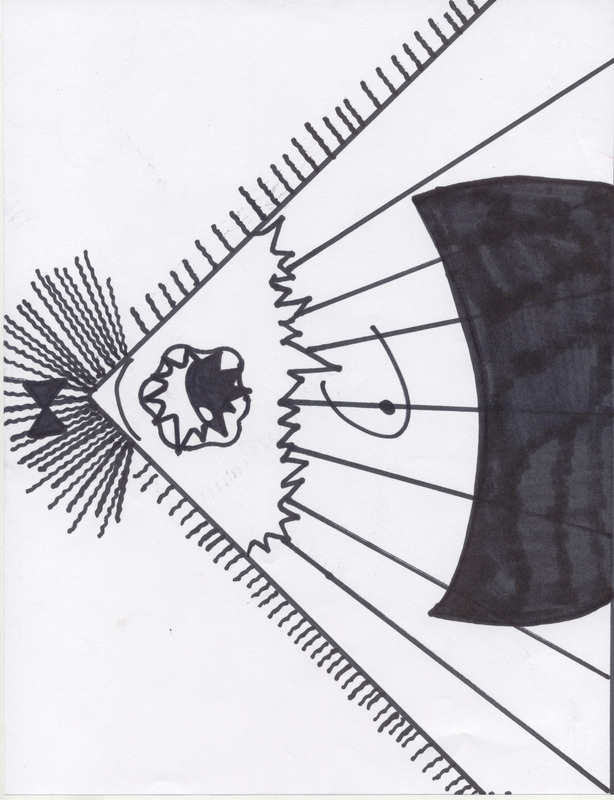
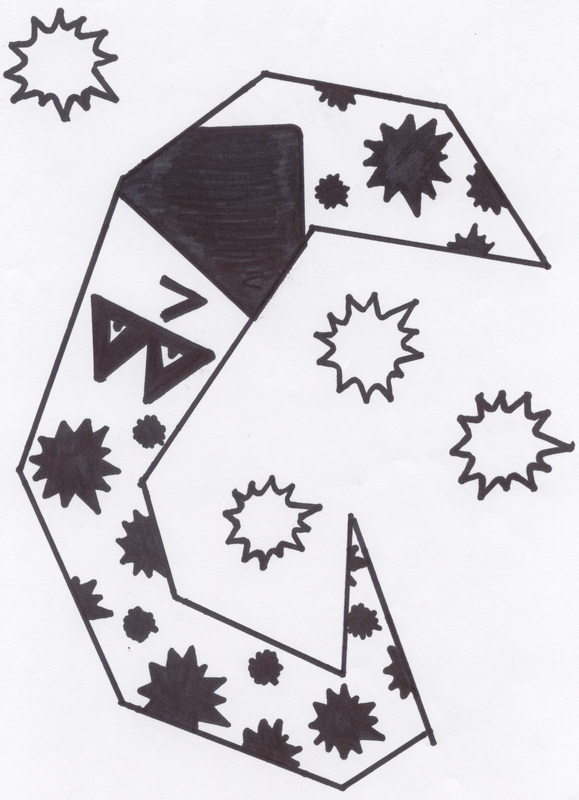
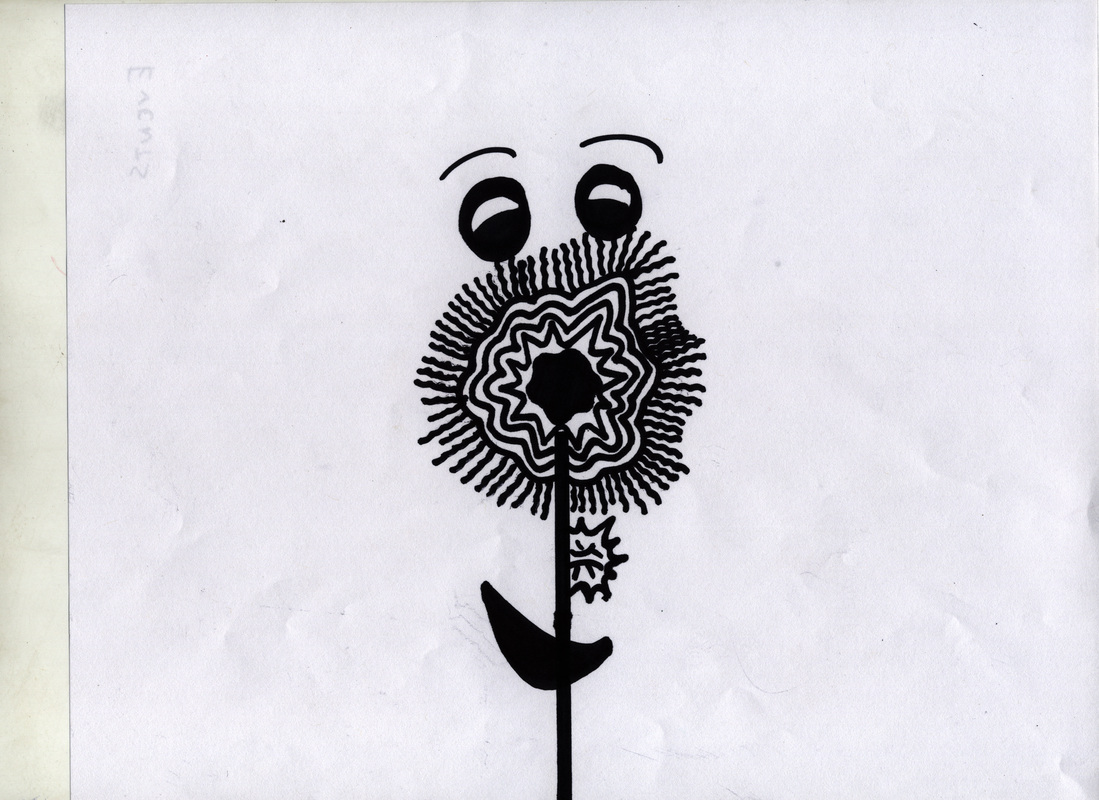
We first need to start off with a drawing, the sharper the lines the better...try using a Sharpie marker...no shading!! Here are some examples of scanned illustrations, --------------------------------> ***Notice that the lines are gray and the paper is dingy... |
     |
|
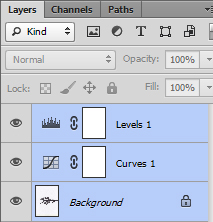
Step 2
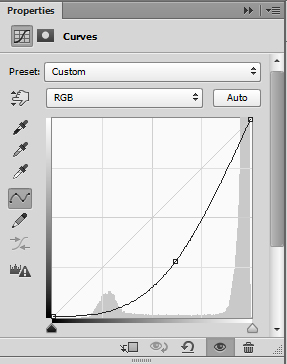
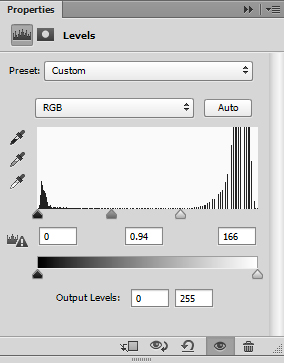
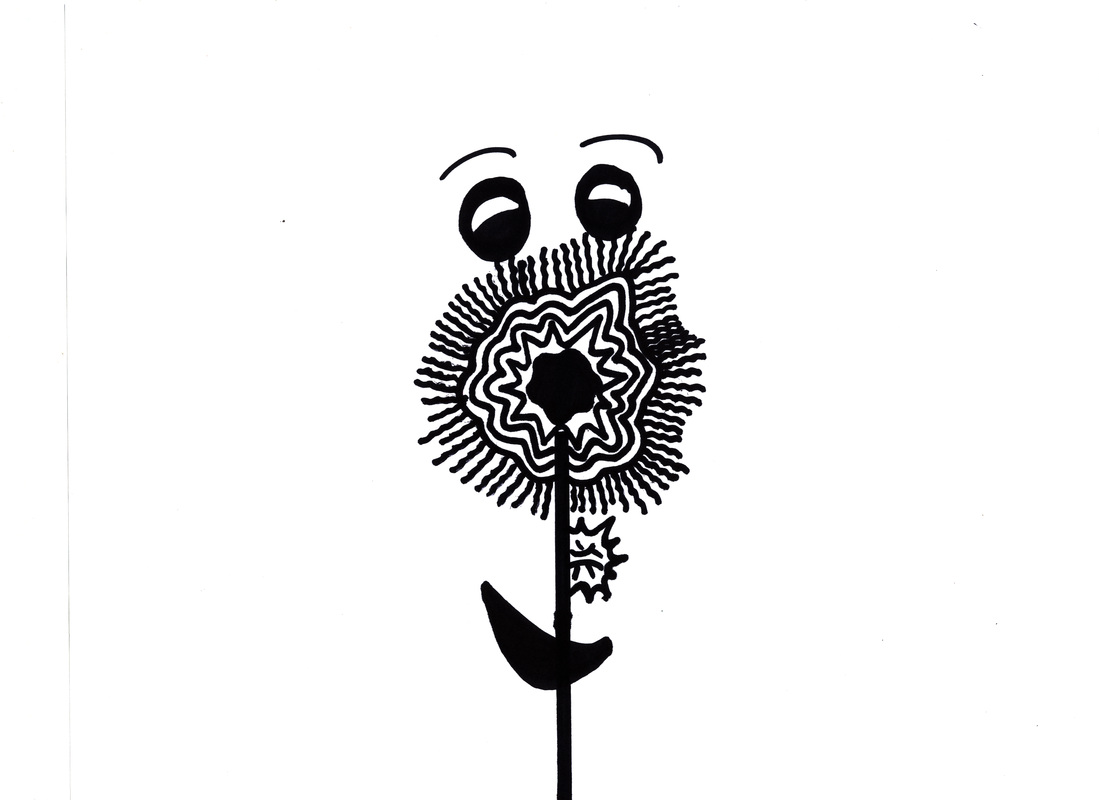
Once the drawings are scanned in, we need to brighten them up by adding a few adjustment layers. *First off let's add "curves" from the adjustment layer menu panel located above the layerbox.***** *Once the curves button is pressed a pop-up menu will appear, add an anchor on the diagonal line in the thumbnail box. Push that anchor point towards the bottom right hand corner until the lines start to darken, the white of the paper will also darken slightly...we'll take care of that next. The example is to the right.-------------------------------------------------------------> Next let's add another adjustment layer called "Levels", this will whiten up the white areas of the paper by making the smudges go away. *You will see another pop-up menu appear, adjust the arrows at the bottom of the top histogram. Depending on the quality of the scann, your settings for the arrows will differ from drawing to drawing....move the white arrow to the left, while also adjusting the gray middle arrow to the right slightly to reach the desired result. The example is to the right.-----------------> **You will need to to some experimenting here, no two drawings are exactly the same! |
|
|
Step 3
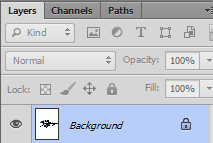
This step will require us to merge all the layers together. *First select the background layer in the layerbox. Now hold the control button down and click on the remaining layers in the layerbox so they are all highlighted. Press control+E on the keyboard, the layers will merge into one, it will be renamed "Background". Now double-click on this background layer and leave it renamed "layer 0". |
|
|
Step 4
We are now ready to extract the image away from the whiter background. *We need to use the Magic Wand Tool to select the white, make sure that "contiguous" is unchecked. This will select all of the white, press delete to remove the white from the layer. ---------------------------------------------------> *Now you should see the gray and white checkerboard pattern where the white originally was. Press Ctrl+D to deselect the "marchign ants"-----------> *From here we can move, transform, rotate, flip and color the illustration on this canvas or new one by simply dragging it with the move tool to another canvas. |
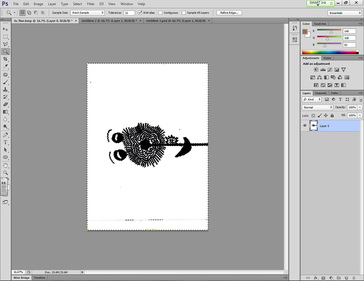
Selection created by magic wand, uncheck contiguous.
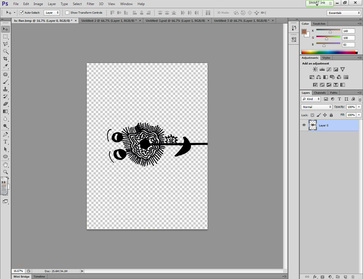
White area deleted and marching ants deselcted.
|
Here are some good ideas to try with your illustration!!
1. Try adding color using the paint bucket tool.
2. Add layer styles.
3. Make multiple illustrations and put them together in a composition.
4. Make a book cover or cd cover.
5. Create a comic book page or even a full story with text bubbles.
6. Make a logo design.
7. Turn it into a T-shirt Design!
2. Add layer styles.
3. Make multiple illustrations and put them together in a composition.
4. Make a book cover or cd cover.
5. Create a comic book page or even a full story with text bubbles.
6. Make a logo design.
7. Turn it into a T-shirt Design!
